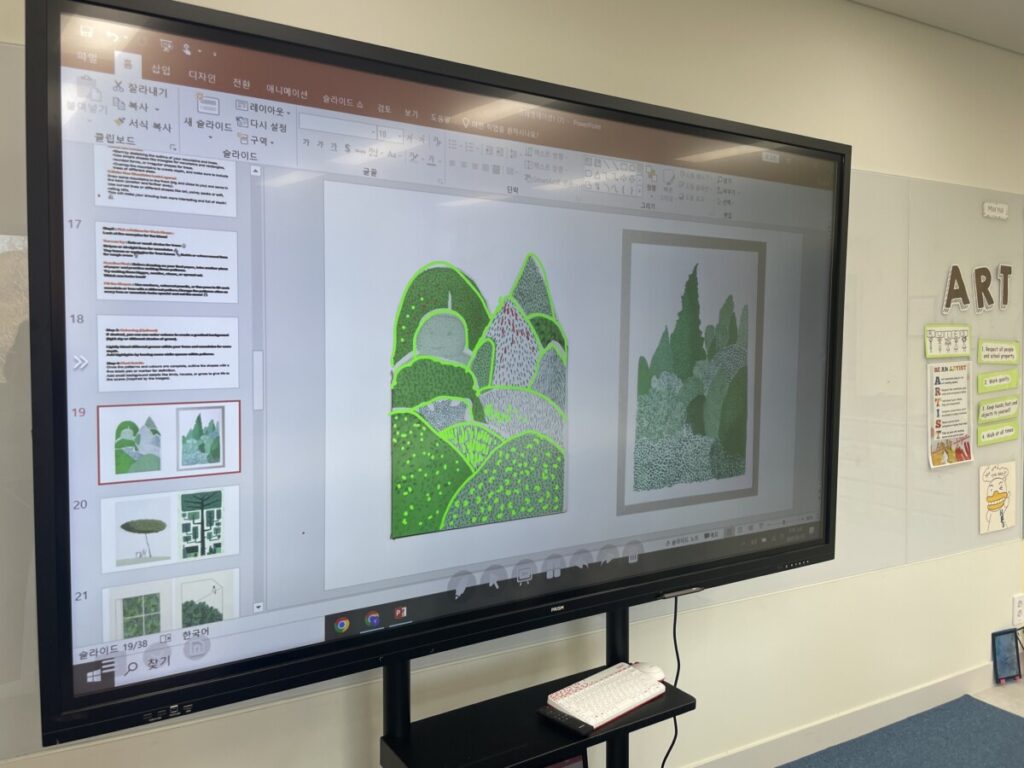
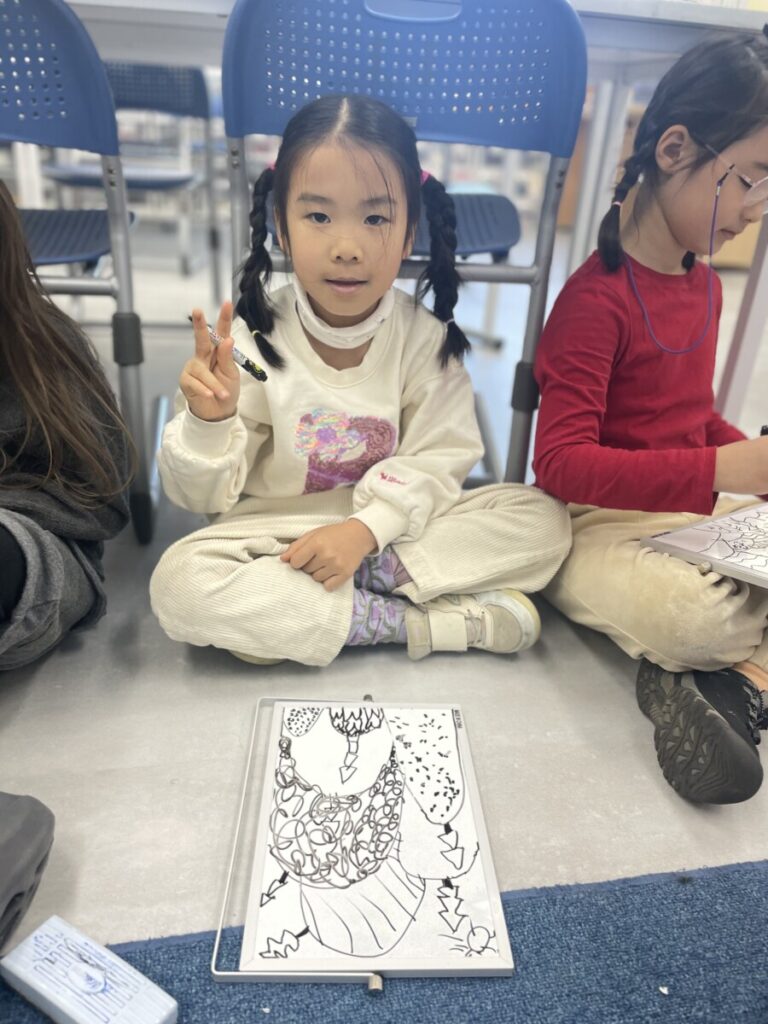
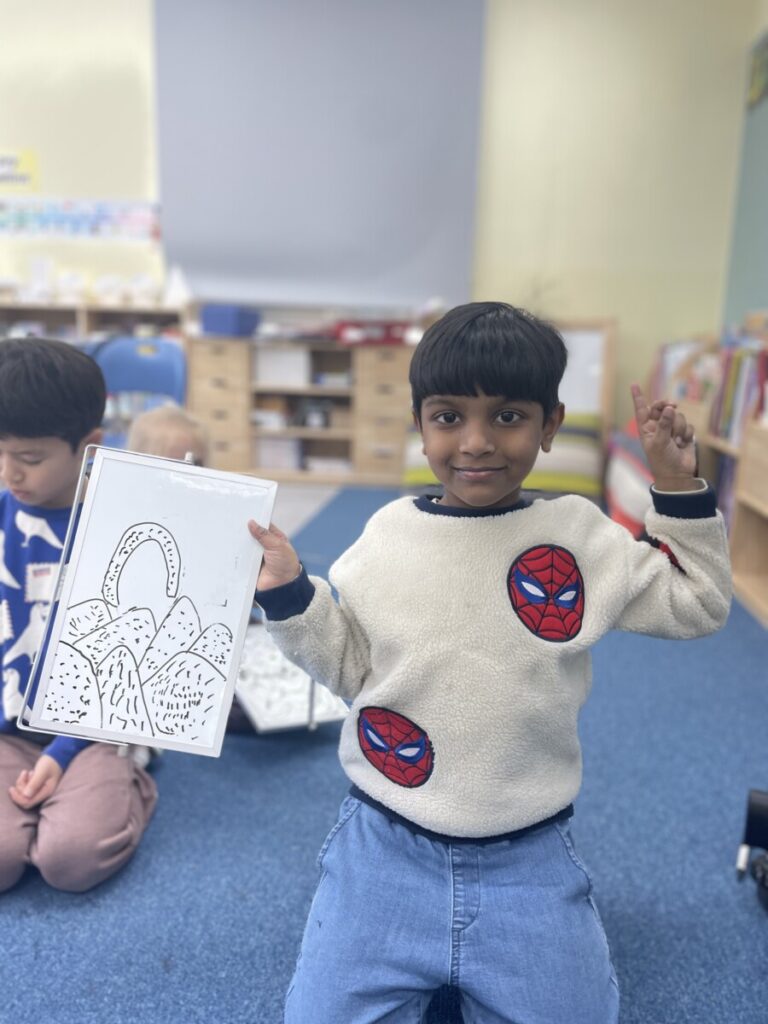
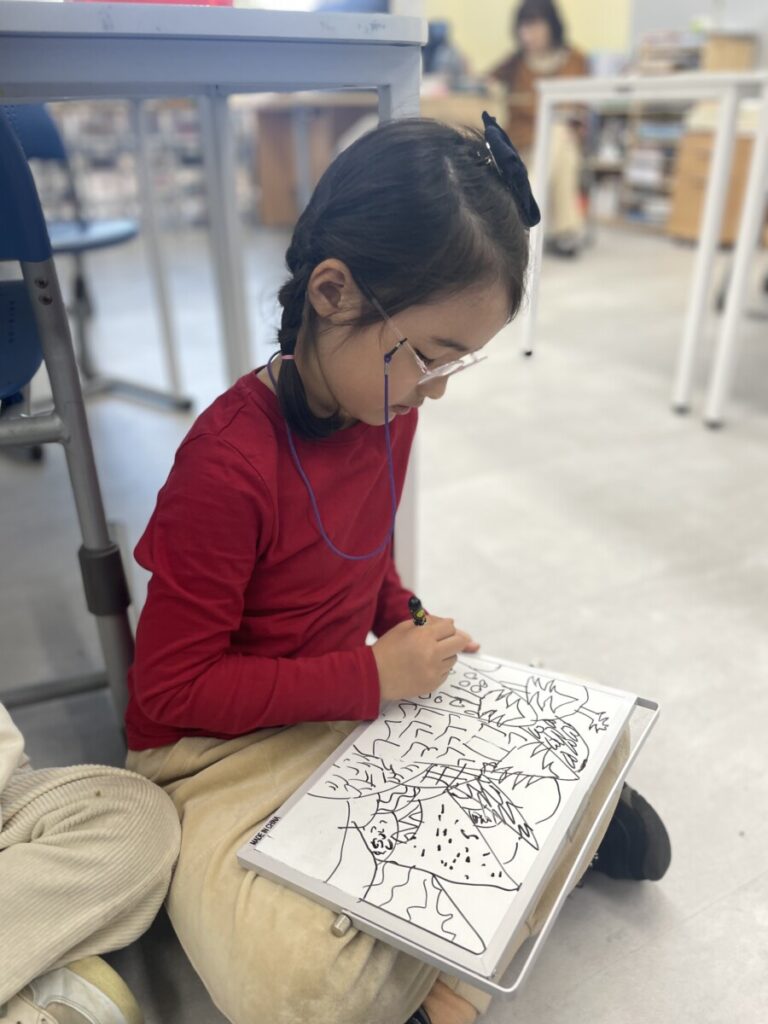
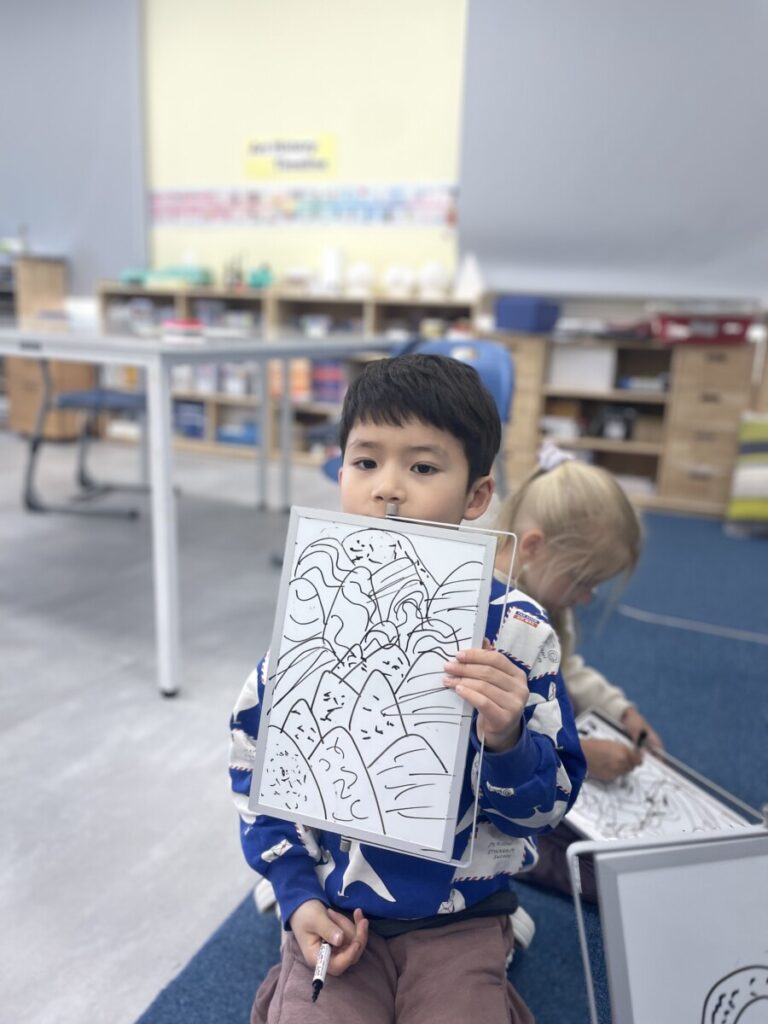
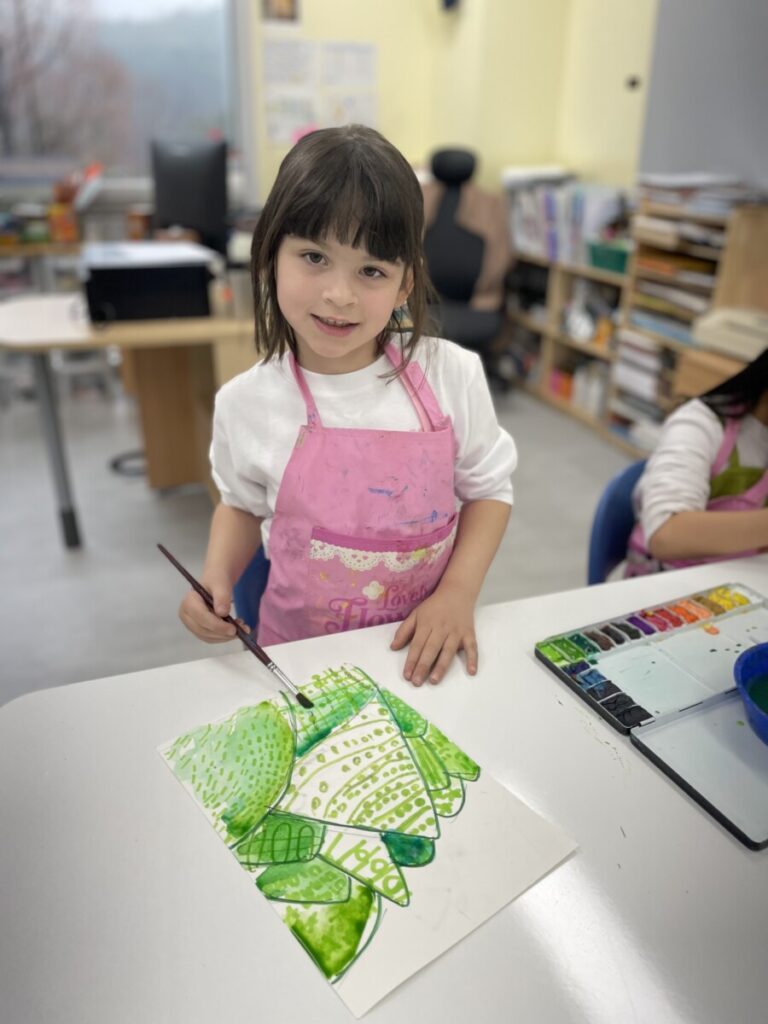
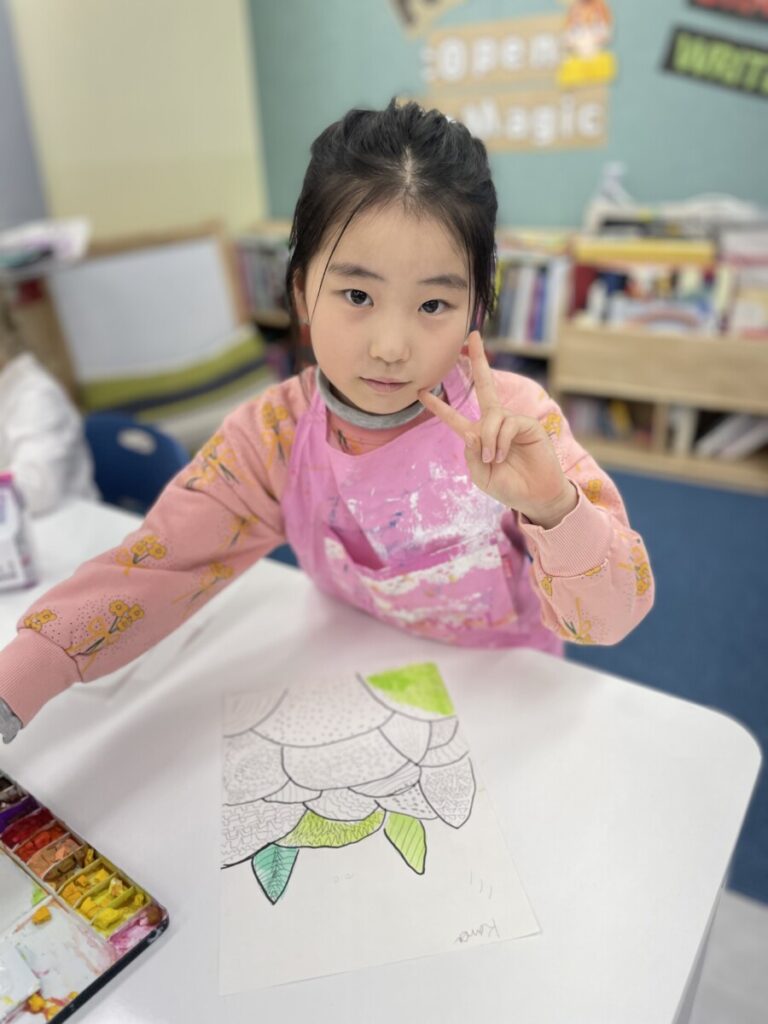
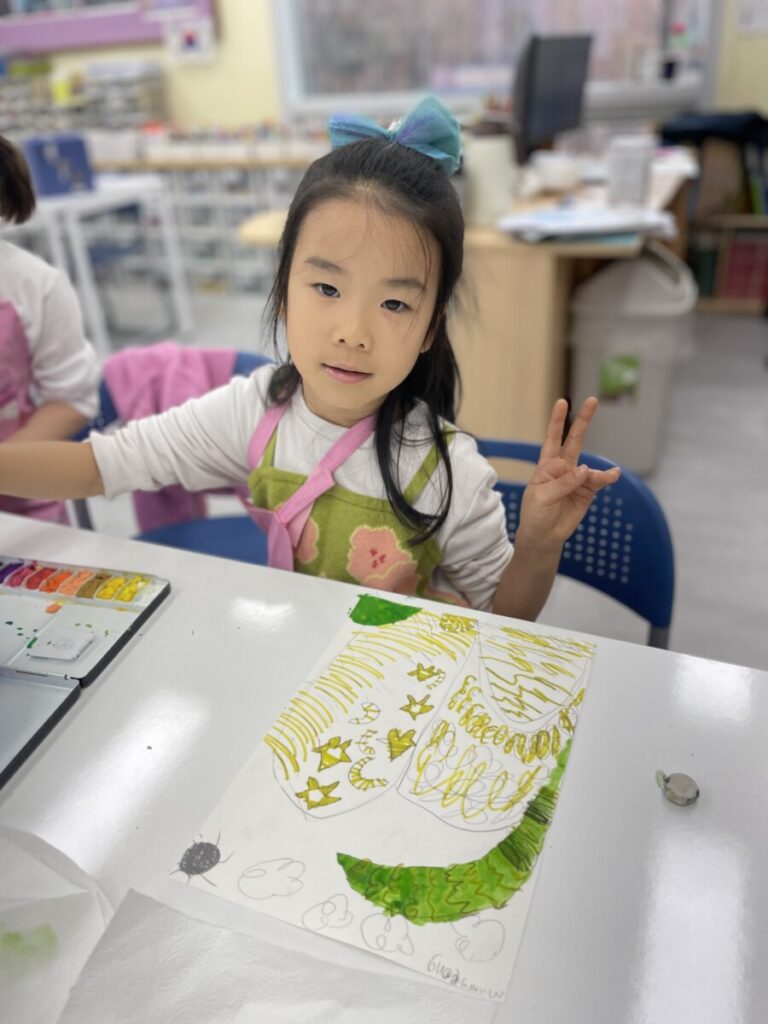
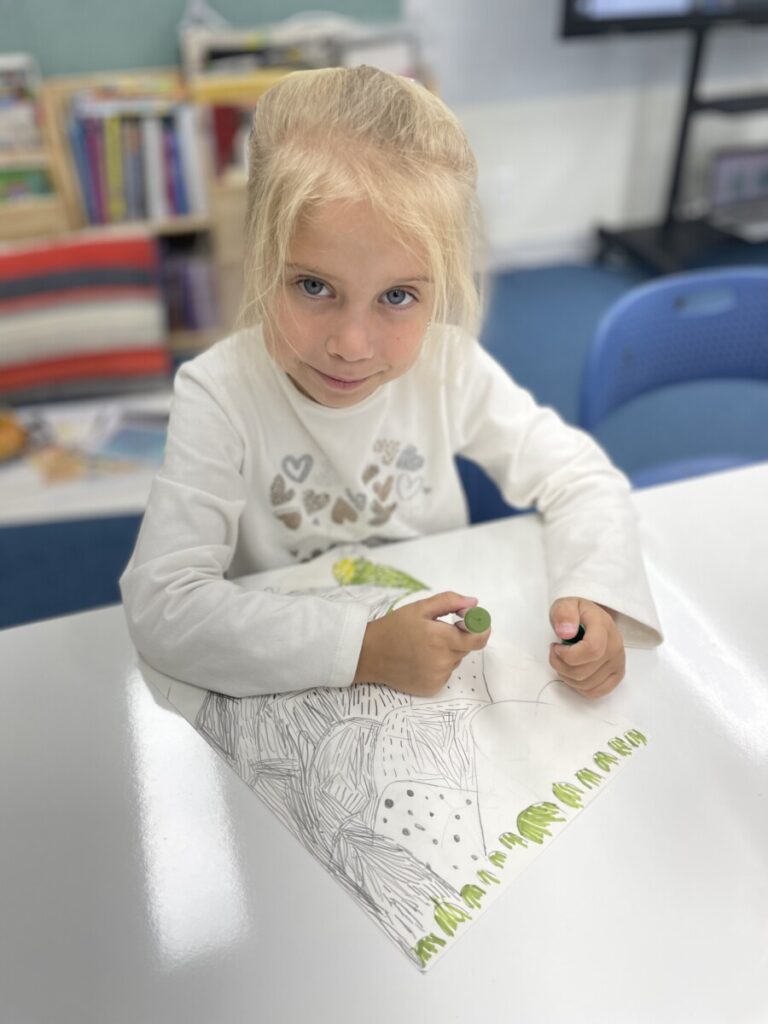
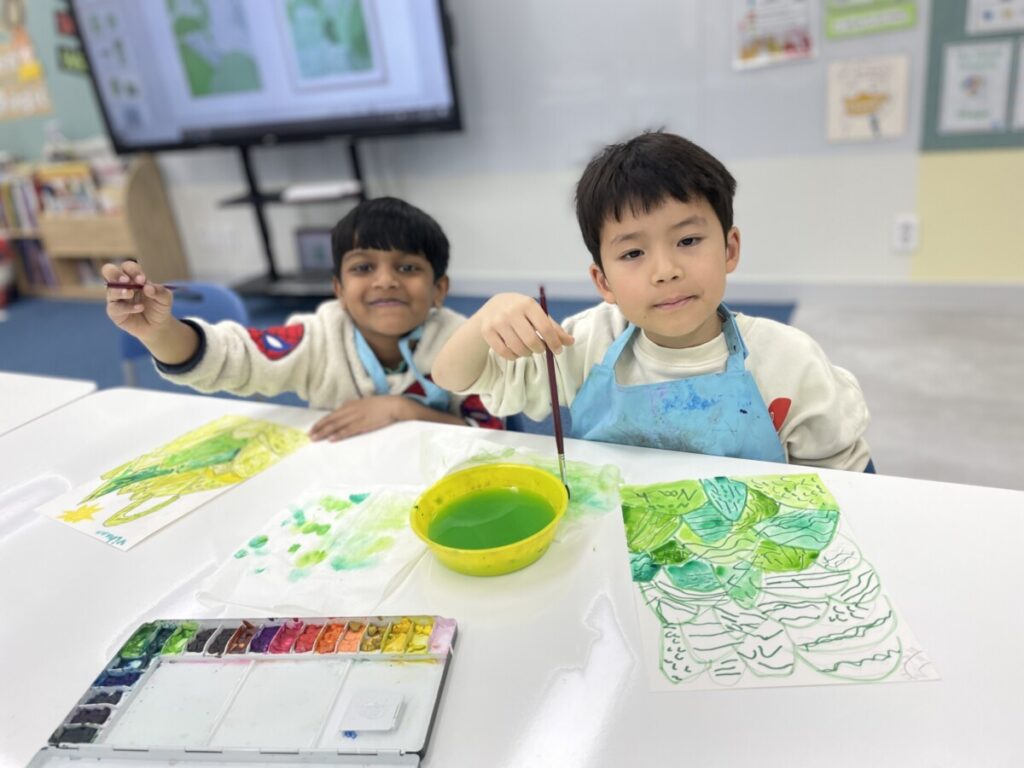
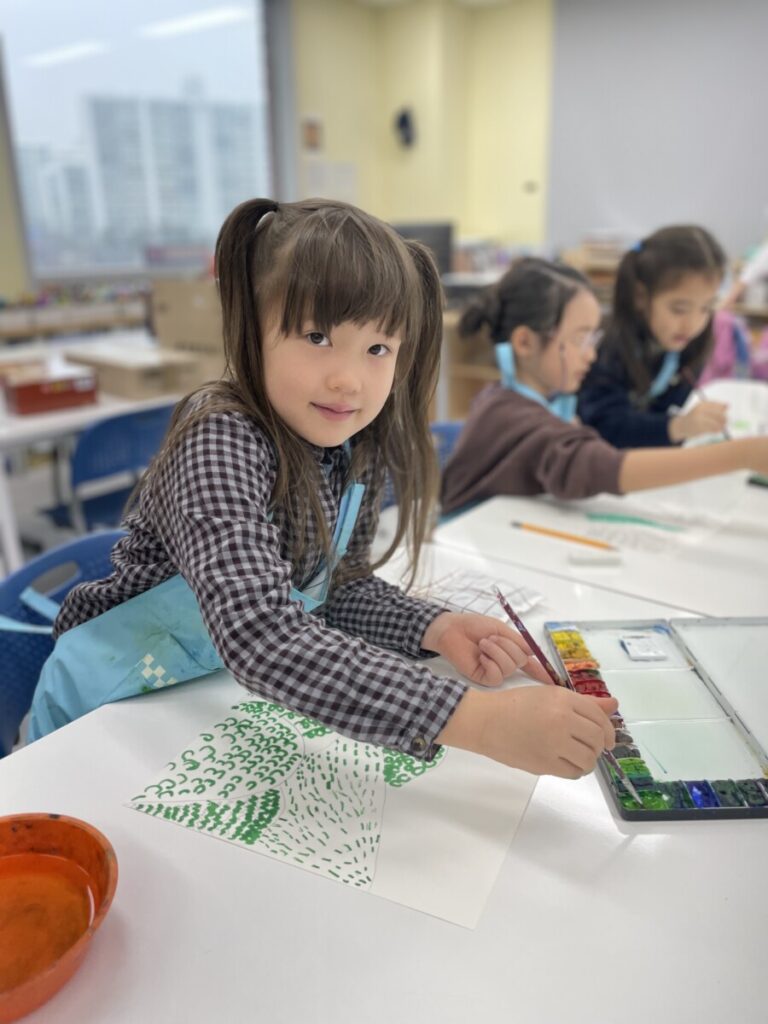
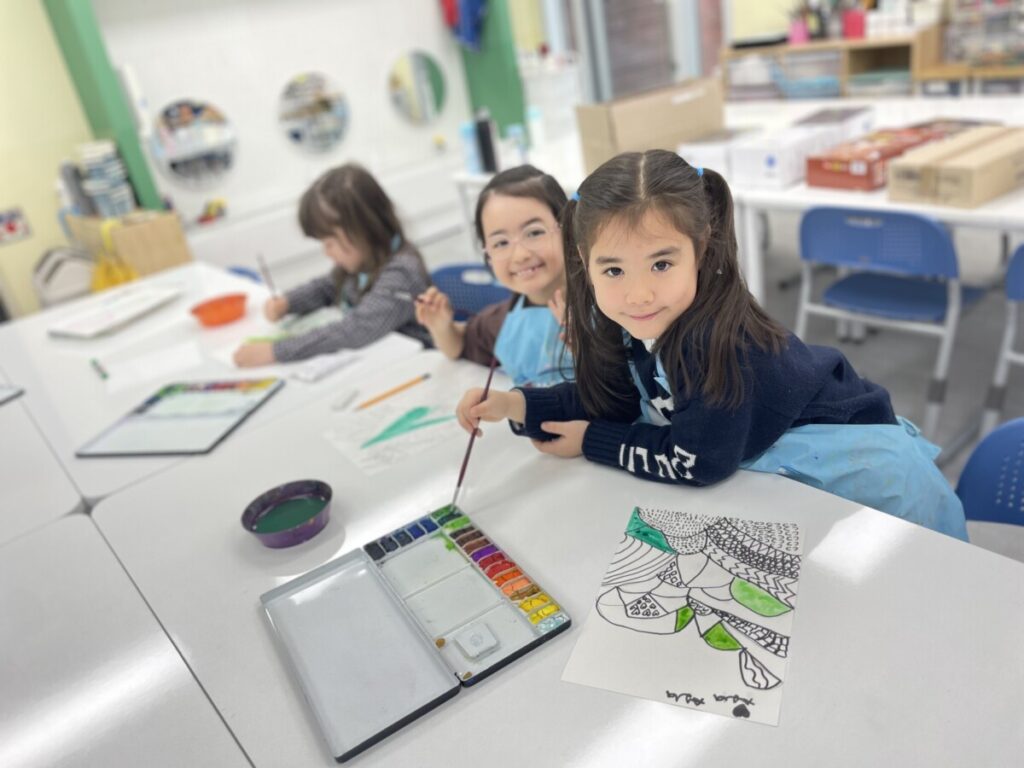
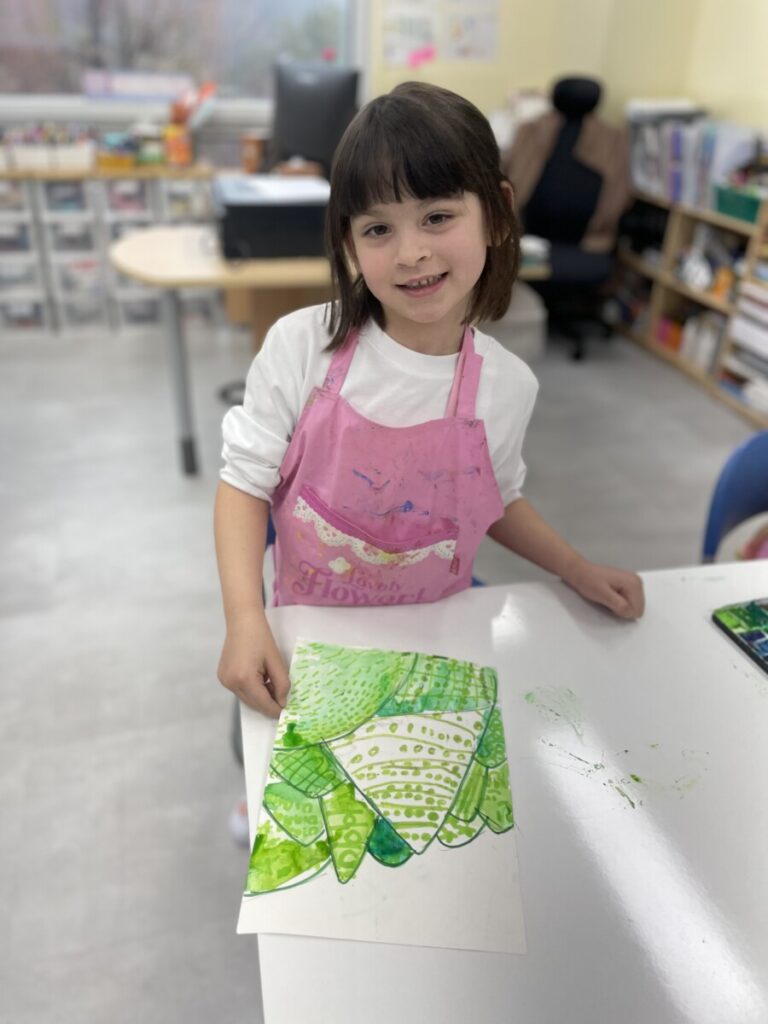
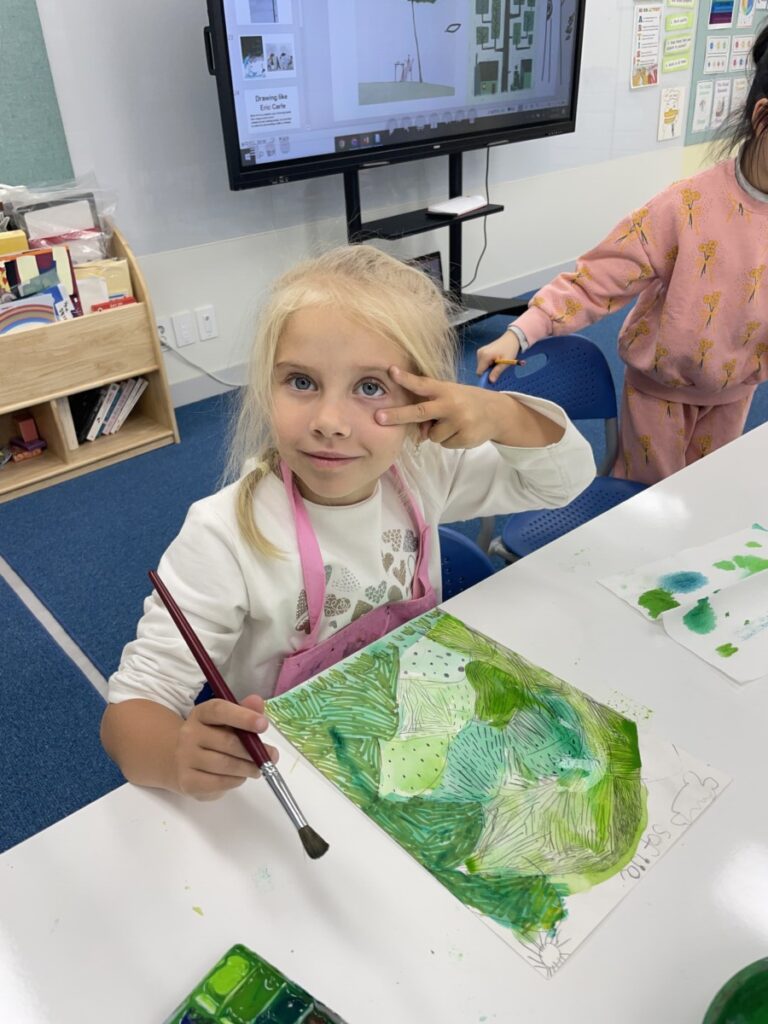
This week, the Year 1-2 students designed abstract landscapes featuring mountains and trees as part of a book cover project. They explored textures, patterns, and different shades of green to make their artwork visually engaging and unique.
What We Learned:
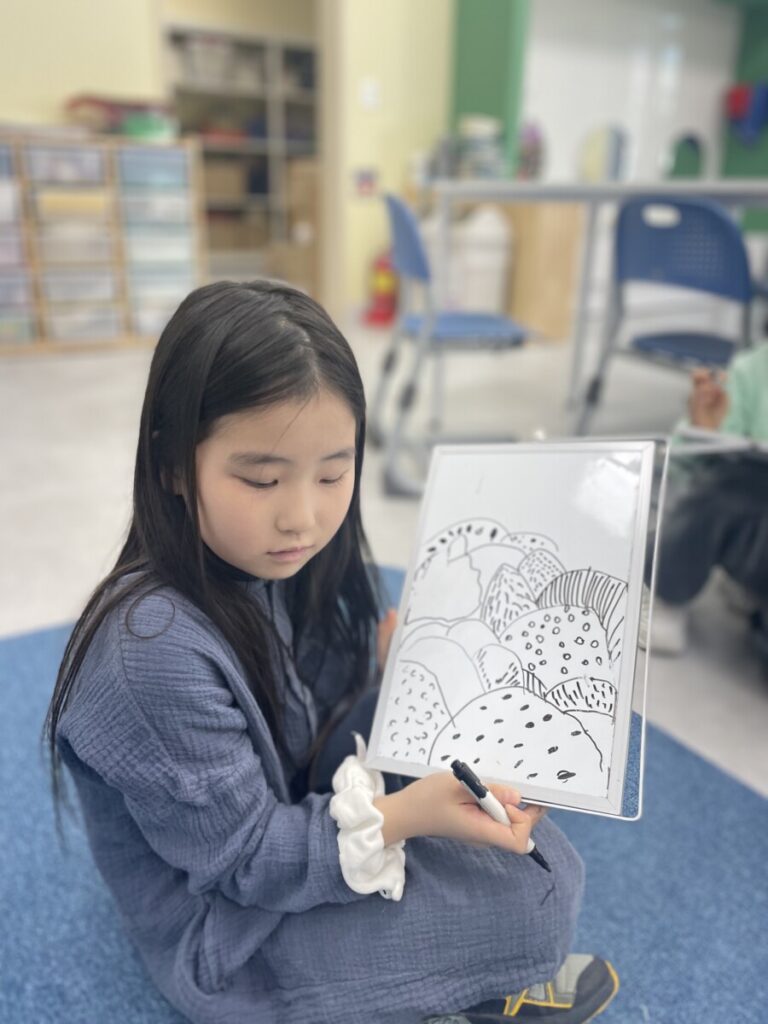
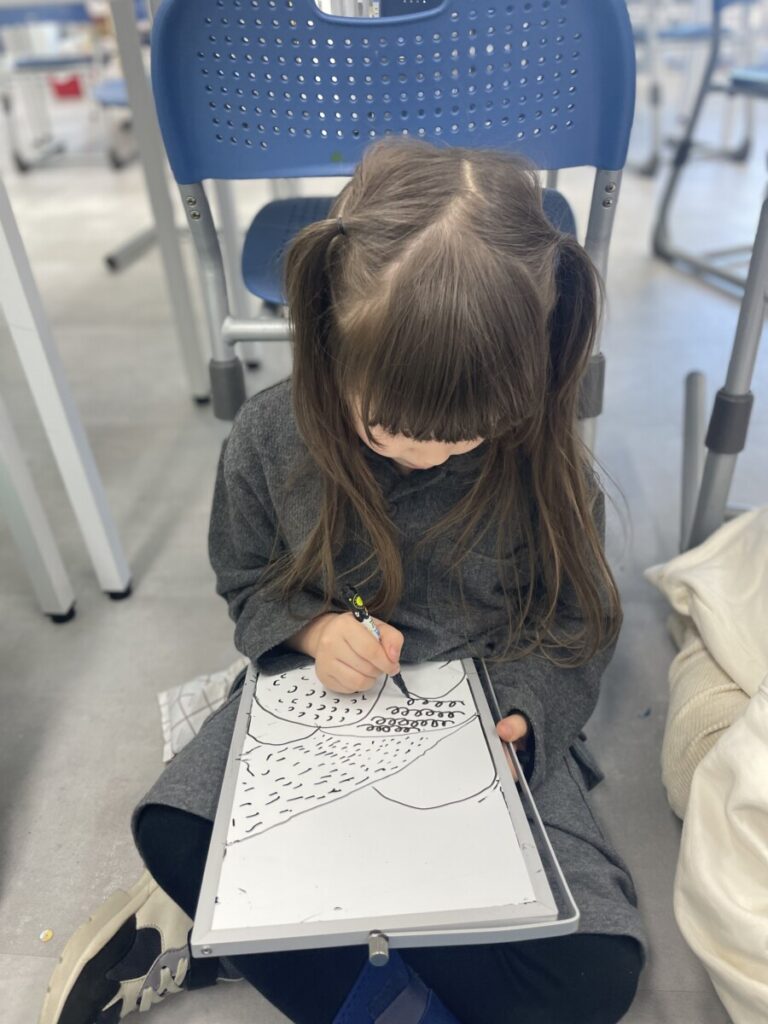
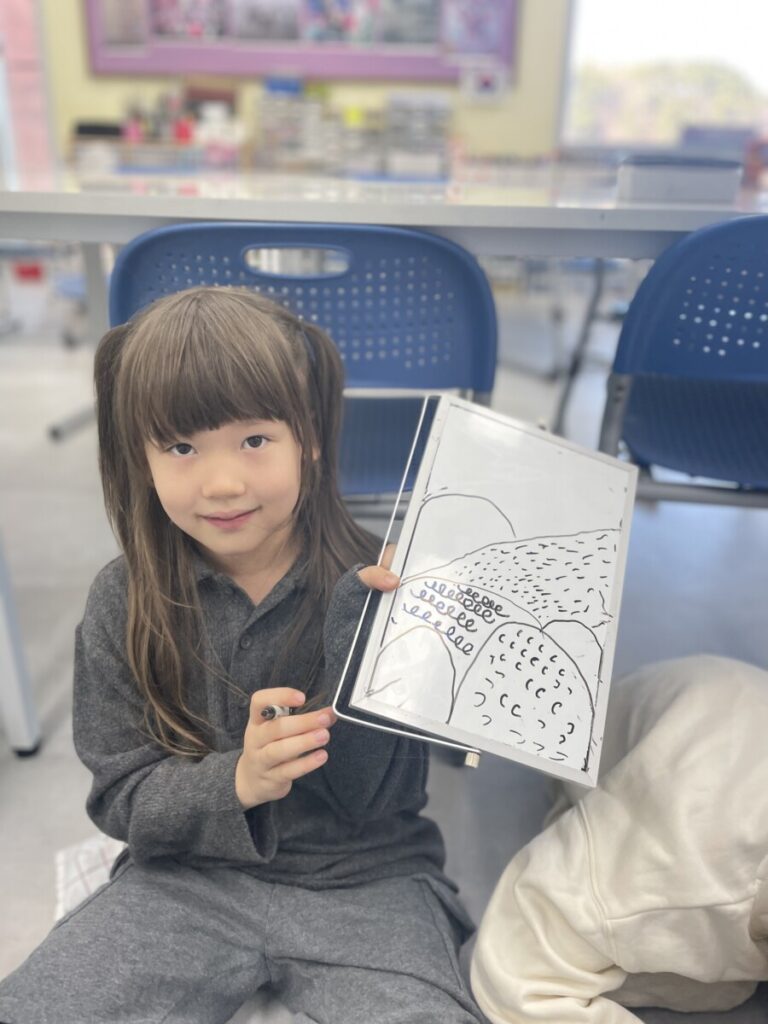
Step 1: Sketching the Mountains and Trees
- We used simple shapes like triangles for mountains and various forms for trees (rectangles, rounded shapes, or irregular designs).
- By overlapping mountains, we created a sense of depth in our drawings.
Step 2: Making the Mountains Look Layered
- We learned that big mountains in the front appear closer, while small mountains in the back look farther away.
- Using different shapes and curved lines made our landscapes more dynamic and realistic.
Step 3: Colouring (Optional)
- If desired, we used watercolors to create a gradient background (such as a light sky or different shades of green).
- We blended different greens within the trees and mountains to add depth.
- Highlights were added by leaving some white spaces within patterns.
Step 4: Final Details
- Once the patterns and colors were complete, we outlined the shapes with a fine black pen or marker for definition.
- To bring the scene to life, we added small background details like birds, houses, or grass, inspired by reference images.
The kids had a fantastic time experimenting with patterns and textures, making each book cover design.